Saturday, September 19, 2020


Wednesday, September 16, 2020
The pointer
Quick post with a new ghost that will help direct the TOTs in the right direction. I could not get him to work last year, so he was a static ghost holding a sign.

The stress on the moving joints was too much for the wooden dowel in in hole to manage. This year I used nylon bushings from Home Depot for the joint and they worked great. The result is shown below. As long as it survives running for a few hour I will add the cloak and cheese cloth back on.
Saturday, November 30, 2019


Saturday, November 17, 2018


Tuesday, November 13, 2018
Saturday, November 5, 2016




Tuesday, November 10, 2015
Cloaked Wallbreaker Build
Adding this post so the build videos for building the cloaked wallbreaker are available.
This video shows the repaired wallbreaker I got from a friend. Next steps are to rebuild and mount the forms
Here is the wallbreaker operating with the forms attached, and the base layer of cheese cloth attached. I like to attach small pieces with fabric stiffener, leaving plenty of voids. This adds depth to the ghost when additional cheese cloth is added.
Friday, November 6, 2015
Halloween 2015
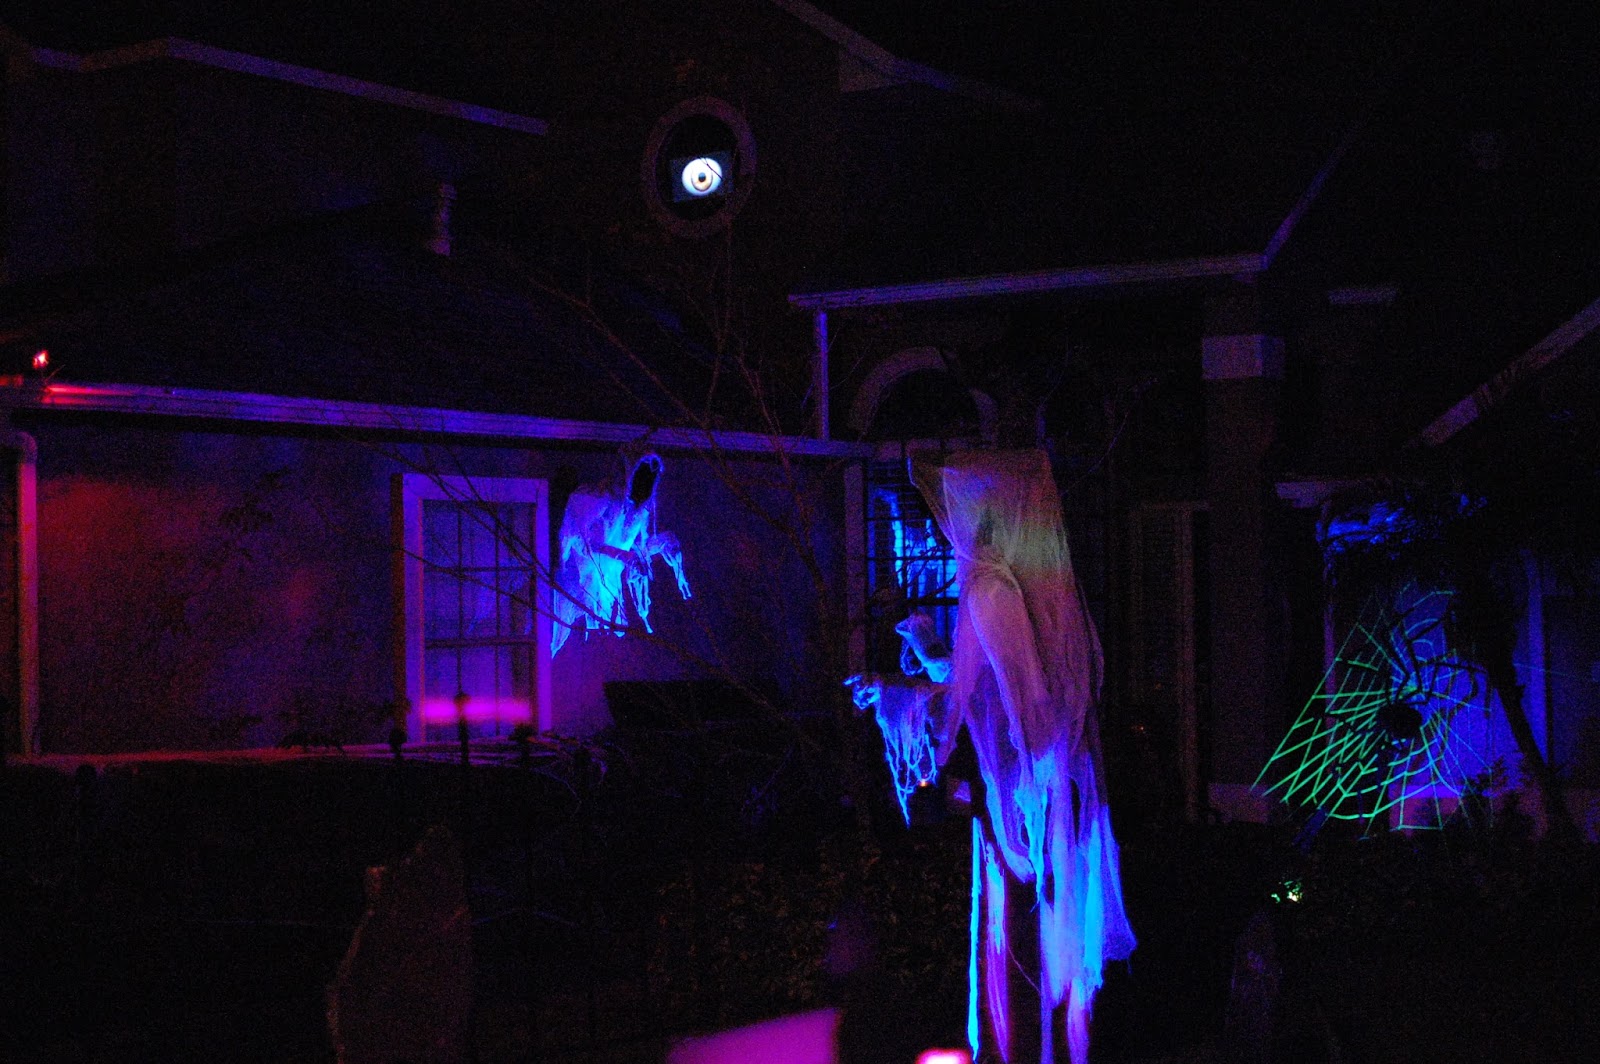
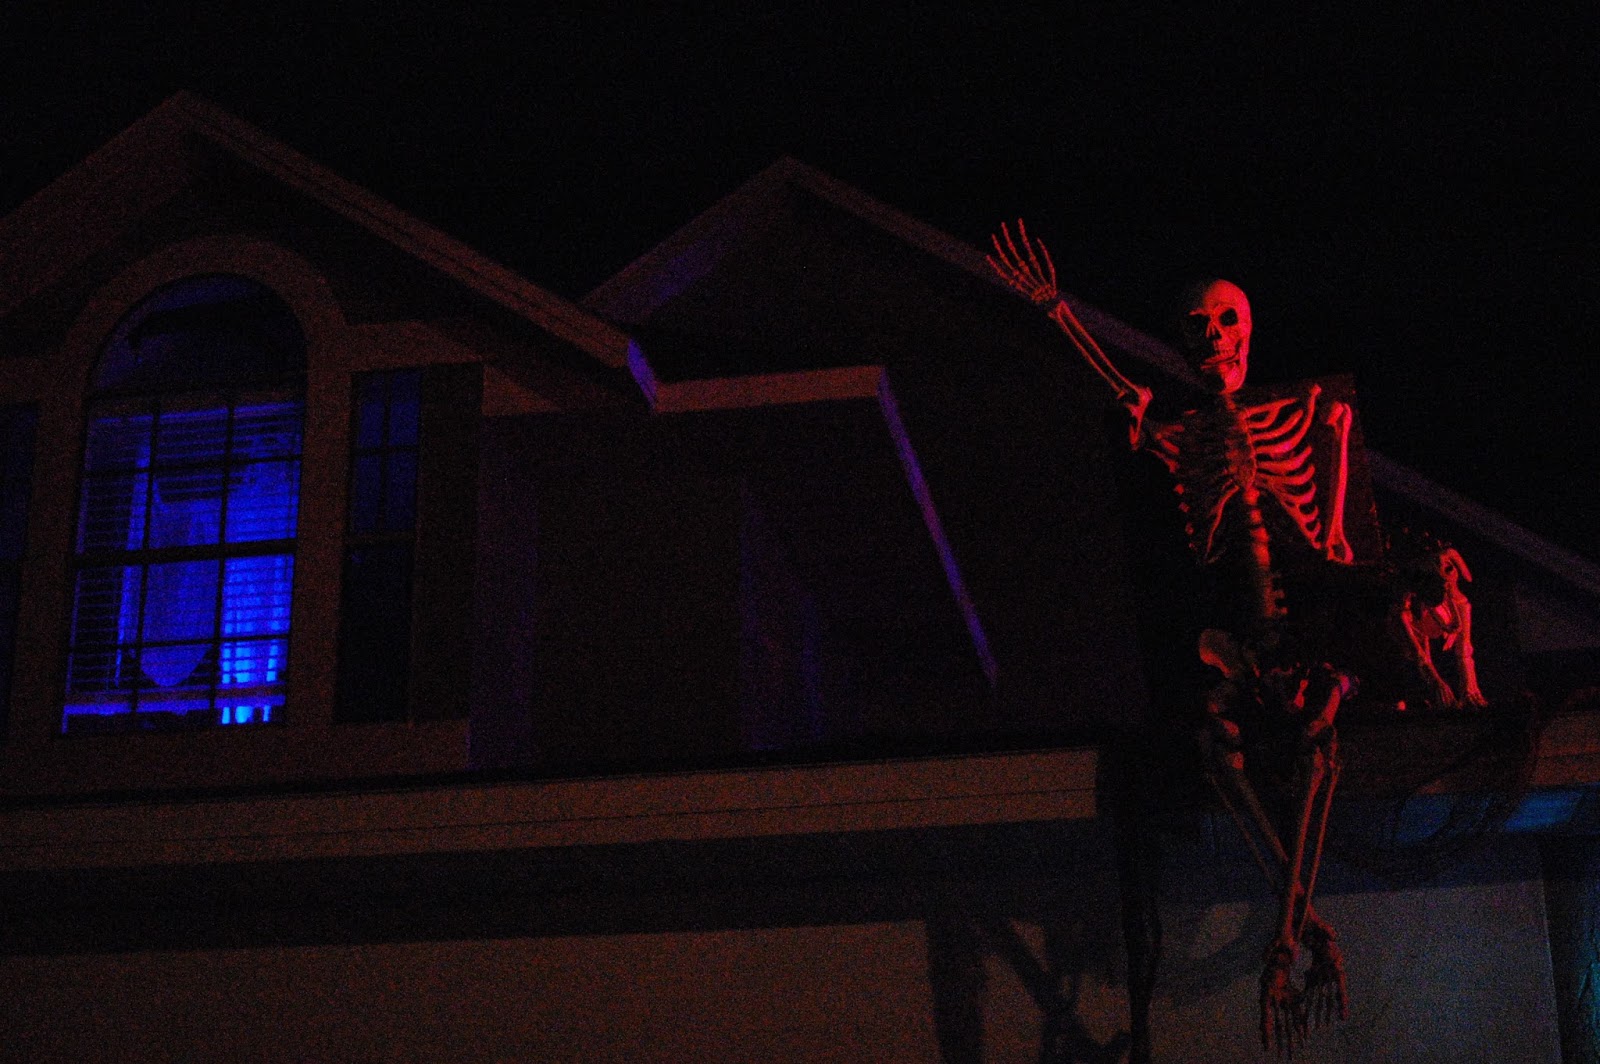
Finally getting caught up on the blog. Halloween saw a big jump in TOTs this year, and I was also able to get a lot more set up than I have in recent years. Hopefully these trends continue. New this year are more fencing across the front, the 9 old men tombstones are complete, and 2 new ghosts. There was a pretty steady breeze Halloween night that killed the fog, and at times enhanced and challenged the ghosts. Hope you like!


Thursday, November 5, 2015
Cloaked Leer Ghost
Continuing the trend of cloaked ghosts, the latest is a cloaked leer ghost.

The difference in this version is that there are no strings, pulleys or eye-bolts. Instead, I used direct linkages for all the movements, which should prove much more reliable. The pictures below show the internals, followed by some videos with the linkages in action.

 The reason the neck (the dowel sticking out to the right in the picture above) is not directly attached to the crank arm like the arms is to provide some counter weight. When the weight of the head is pulling the neck down, this will be helping push the arms up. Like wise, the weight of the arms when they are raised will help raise the head.
Before next Halloween, I am going to add bushings to the pivot points, as they tend to start squeaking after a while. Also, I realize the positioning of the arms was very unnatural when I was trying to mimic it. Now I realize why this leer ghost, and the prior one had such an insect/praying mantis feel to it.
Below is the video of the final Leer Ghost, followed by a series of videos that show how it was built.

The difference in this version is that there are no strings, pulleys or eye-bolts. Instead, I used direct linkages for all the movements, which should prove much more reliable. The pictures below show the internals, followed by some videos with the linkages in action.


Before next Halloween, I am going to add bushings to the pivot points, as they tend to start squeaking after a while. Also, I realize the positioning of the arms was very unnatural when I was trying to mimic it. Now I realize why this leer ghost, and the prior one had such an insect/praying mantis feel to it.
Below is the video of the final Leer Ghost, followed by a series of videos that show how it was built.
Final Leer Ghost
Leer Ghost build part 1
Leer Ghost build part 2
Leer Ghost build part 3
Leer Ghost build part 4
Leer Ghost build part 1
Wednesday, July 8, 2015
Cheap Cemetery Fence
I have been wanting to build a cheap cemetery fence for quit a while, and I finally got around to it. The idea was to build an 8 foot section from a 2x4. The picture below shows a single 2x4 ripped into top and bottom rails, and 4 8' pickets to cut the final pickets from.


I chose to make 3', 3'4:, 3'8" and 4' pickets. I build 5 8' sections, and 2 4' section using 6 2x4's.
Then I cast finales and post caps, since 41 finales would cost a lot to buy. I used 1:1 mix of silicon caulk and cornstarch to build molds for some small skull heads, and larger ghoul head I had picked up over the years. Since I had so many to make, I cast the skull heads in plaster. When they were set, I drilled 3/8" hole in the bottom of each, and glued in a 2" piece of 3/8" dowel. Then I dipped the whole thing in polyurethane, then painted flat black finished with a dry brushing of metallic copper acrylics. The post toppers were cast in paper mache paste, and finished the same as the skulls.
The fence posts are built from 1 1/4" PVC. 3/8" dowels glued into the end of the rails are inserted into holes in the PVC posts. Some pictures of the finished fence sections are below.
Cloaked Wallbreaker
Sunday, August 17, 2014
Ghost Popper
Hi everyone. Latest take on Ghosts is a ghost tombstone popper. In the video below I show the ghost popper under black light and in action, and I detail how I made the popper. The main features of the popper are:
- The popper goes up and down, instead of the circular motion you find in a lot of online examples.
- I added animation to the head so it turns sideways, and opens its mouth.
- And it is a ghost, black armature covered with RIT treated cheese cloth.
Hope you like it!

Friday, July 25, 2014
First Tombstone Rocker
Hi everyone, I FINALLY got some time to work on props. This blog will show the rest of the Murdniwg tombstone. Next project will complete the ghost tombstone popper I was not able to complete for the HauntForum contest. First, some pictures of the tombstone, followed by a video of how the rocker works. Sorry to be brief, I have lots to do at the moment :)


Monday, February 17, 2014
Recreating the Haunted Mansion's Nine Old Men
I have recently started visiting Disney World and the Haunted Mansion as much as I can (season passes are great), call it my way of decompressing from life and work. This past Halloween I introduced the Haunted Mansion into my yard haunt by using various versions of Grim Grinning Ghost (as done in the ride), and decided that I wanted to pay tribute to the Mansion graveyard scene (in the ride, not outside) in my haunt. First step was to recreate elements of the graveyard, so I showed up early so I could 'document' the graveyard, and I was really surprised when I studied the pictures and found out that there were only a few tombstones used over and over throughout the graveyard. A little research starting with some links from the Haunted Mansion thread at HalloweenForum, and I found out that the tombstones have been referred to as the nine old men, a tribute to Disney's original animators. I built my own collage using pictures I took:
 Flash really flattens the depth of the tombstones, the best I have found to show the depth, and some of the movement are a couple of youtube videos taken when they had to turn the lights on:
The first stone I will recreate is the Murdniwg stone:
Flash really flattens the depth of the tombstones, the best I have found to show the depth, and some of the movement are a couple of youtube videos taken when they had to turn the lights on:
The first stone I will recreate is the Murdniwg stone:
 I used one of the pictures in Gimp, performed an edge detect, skewed, and overlaid a graph to build a template:
 Once this was done, I scaled it to be 36" tall, then printed it out using Microsoft Paint. Paint is good because it allows you to print to scale on multiple sheets, which you can tape together to make a scale template. 2 inch foam will be used for the form, and papier-mâché for shell. More to come!


Subscribe to:
Posts (Atom)