Saturday, September 19, 2020
Wednesday, September 16, 2020
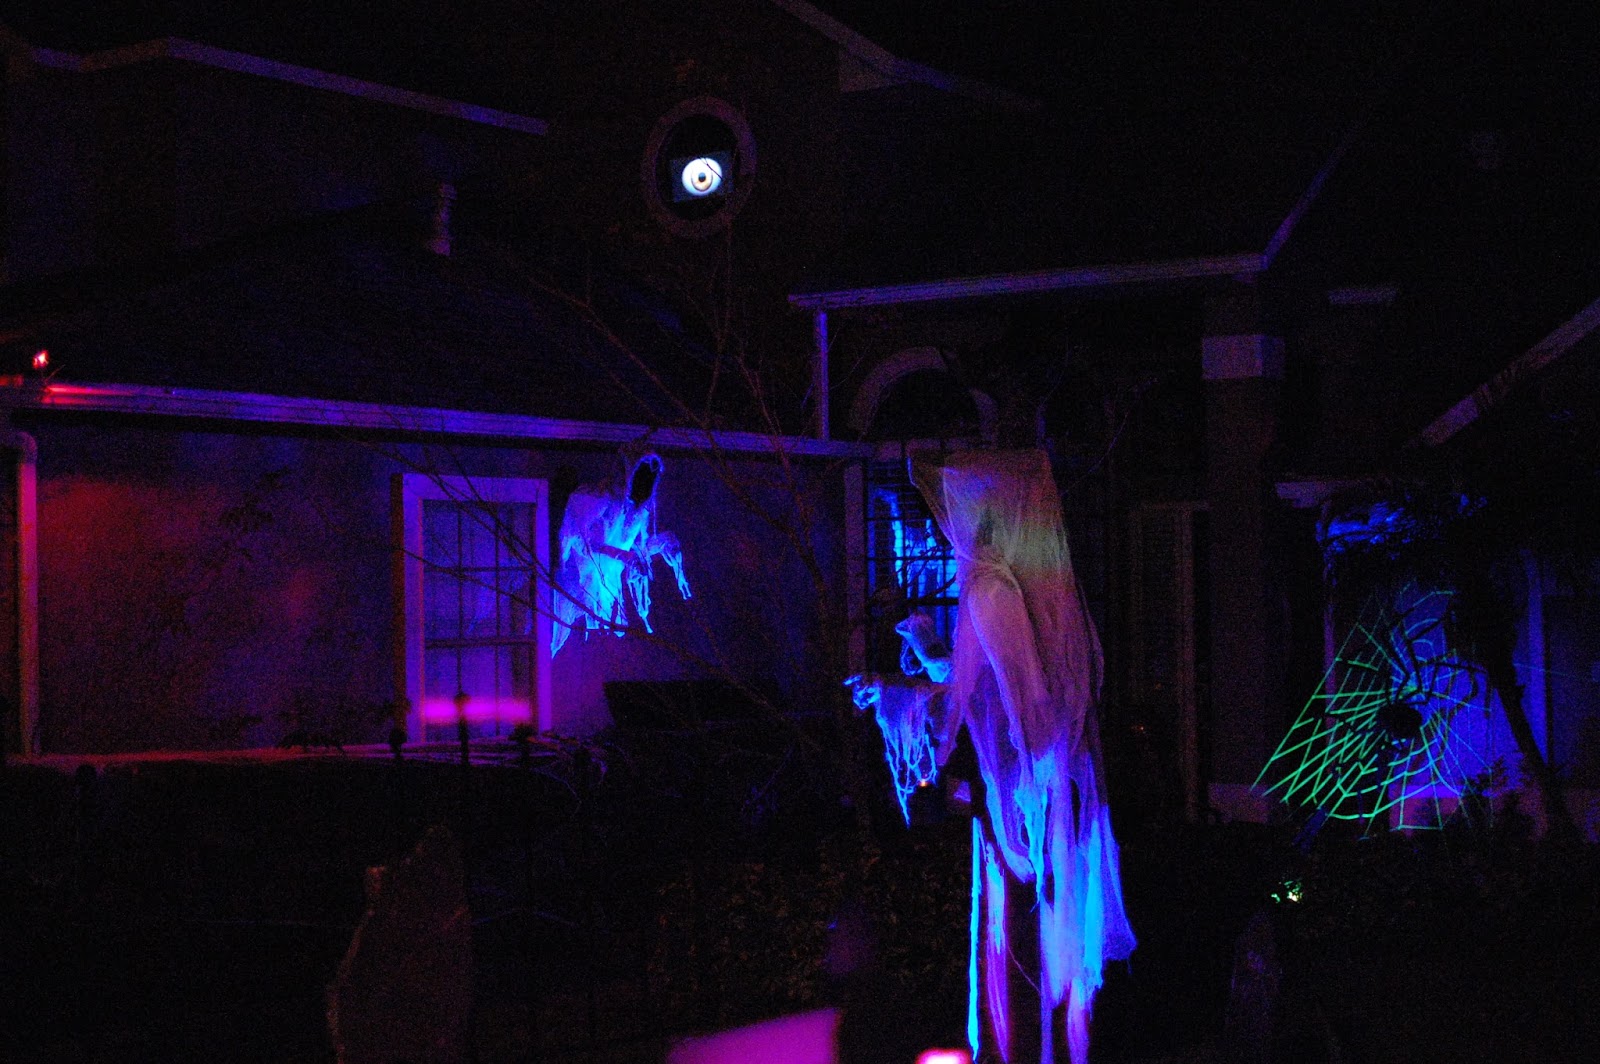
The pointer
Quick post with a new ghost that will help direct the TOTs in the right direction. I could not get him to work last year, so he was a static ghost holding a sign.

The stress on the moving joints was too much for the wooden dowel in in hole to manage. This year I used nylon bushings from Home Depot for the joint and they worked great. The result is shown below. As long as it survives running for a few hour I will add the cloak and cheese cloth back on.
Saturday, November 30, 2019


Saturday, November 17, 2018


Tuesday, November 13, 2018
Saturday, November 5, 2016


Tuesday, November 10, 2015
Cloaked Wallbreaker Build
Adding this post so the build videos for building the cloaked wallbreaker are available.
This video shows the repaired wallbreaker I got from a friend. Next steps are to rebuild and mount the forms
Here is the wallbreaker operating with the forms attached, and the base layer of cheese cloth attached. I like to attach small pieces with fabric stiffener, leaving plenty of voids. This adds depth to the ghost when additional cheese cloth is added.
Subscribe to:
Posts (Atom)