Next step was to build a body. I mounted the leer ghost where I could reach it , then used cardboard strips to form a body. Some of the strips are held with sheet rock screws; the body will be built with these screws in place, which later can be used to remove the body to fix the internals if needed.
I used hot glue (I love hot glue), with clothes pins holding things in place while the glue hardens.
As I tested the ghost I decided that the arms/shoulders were to narrow, so I rebuilt the mechanism so the shoulders were outside, not inside the mounts. This again demonstrates how easy it is to modify or fix the wood block/dowel construction.
Once the body was formed I used strip mache to cover the form using
Stolloween's mix. Now I have tried several mache mixes, and I like Stolloween's the best. Once I had the strip mache on I decided to use more of Stolloween's techniques pulp mache to add some dimension in the form of ribs. In case you haven't seen his mache work, you have got to check it out.
Next I added cardboard cutouts to form the elbows. I did this by slowly adding cardboard, running the ghost to make sure none of the parts hit, and trimming where necessary for looks and movement. When this was finished I used strip mache to cover the elbows.
I also made a 'neck'
You don't have the worry about the slots at the top of the arms, they will be covered with cheese cloth later. Next I add some more Stolloween mache pulp to the arms to give them some texture. I really exaggerated the features so they might be visible through the cheese cloth. In addition I filled in the eyes with mache pulp and carved out vertical slits for the hot glue later.
Next came a good coat of flat black latex, followed by polyurethane.
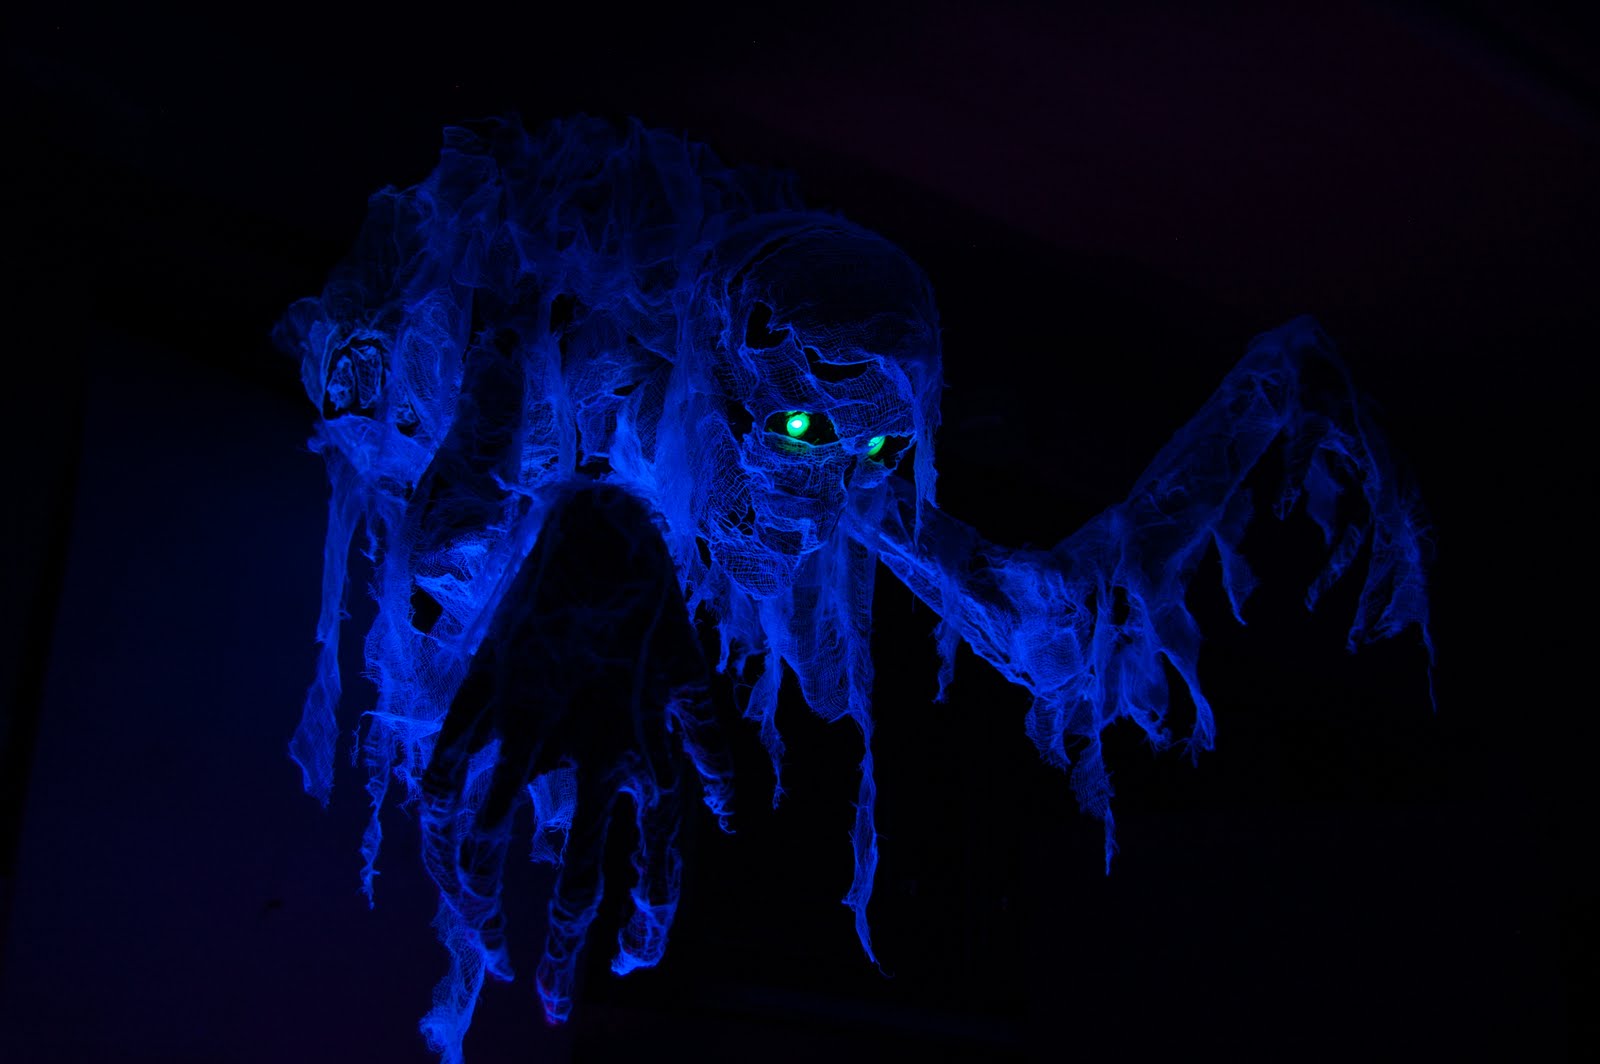
To make the LED eyes, I first made a cardboard piece to hold the leds and secured it in place temporarily. Then I temporarily attached a couple of AA batters to an LED, position the LED so it was shining through the eye hole clearly and secured it with some hot glue.
Once both LEDs were in place, I pulled out the LEDs and wired them with a 270 ohm resistor so I could attach them to the 12v motor power source. This is then glued back in place, making sure the LEDs shine throught the holes in the eyes. The final step is to fill the eye slits with hot glue.
Then it was finally time for the cheese cloth. First I used the dunk and squeeze method to apply a double layer of cheese cloth to the ribs, then a single layer of dunk and squeeze for the rest of the ghost. I try to leave gaps, and to mix small and larger size pieces of cheese cloth.
A quick test of the eyes, and it's time to assemble everything.
I tried something different this time, another idea from Stolloween in which I took several pictures during the assembly and turned them into a short video. Each piece was tested fitted, including running the ghost to make sure no parts hit, then securing each piece with a small drop of hot glue so it can be disassembled later if needed. Additional peice of cheese cloth were added to cover the gaps in between the form peices, and to add to add some peices hanging down. This was down by holding the chees cloth in place and 'gluing' it with soe fabric stiffener and a small brush.


.jpg)
.jpg)

.jpg)
.jpg)
.jpg)


.JPG)
.jpg)


